3D Print Prepping for Paint
-
Resin is an irritant! Please take proper precautions when prepping and painting your models. Eye and breathing protection are recommended when prepping and priming your model.
UV resin should not be left in the sun or bright sunlight unless it has been primed. Additional UV rays will continue to cure the resin, and over-cured resin gets brittle.
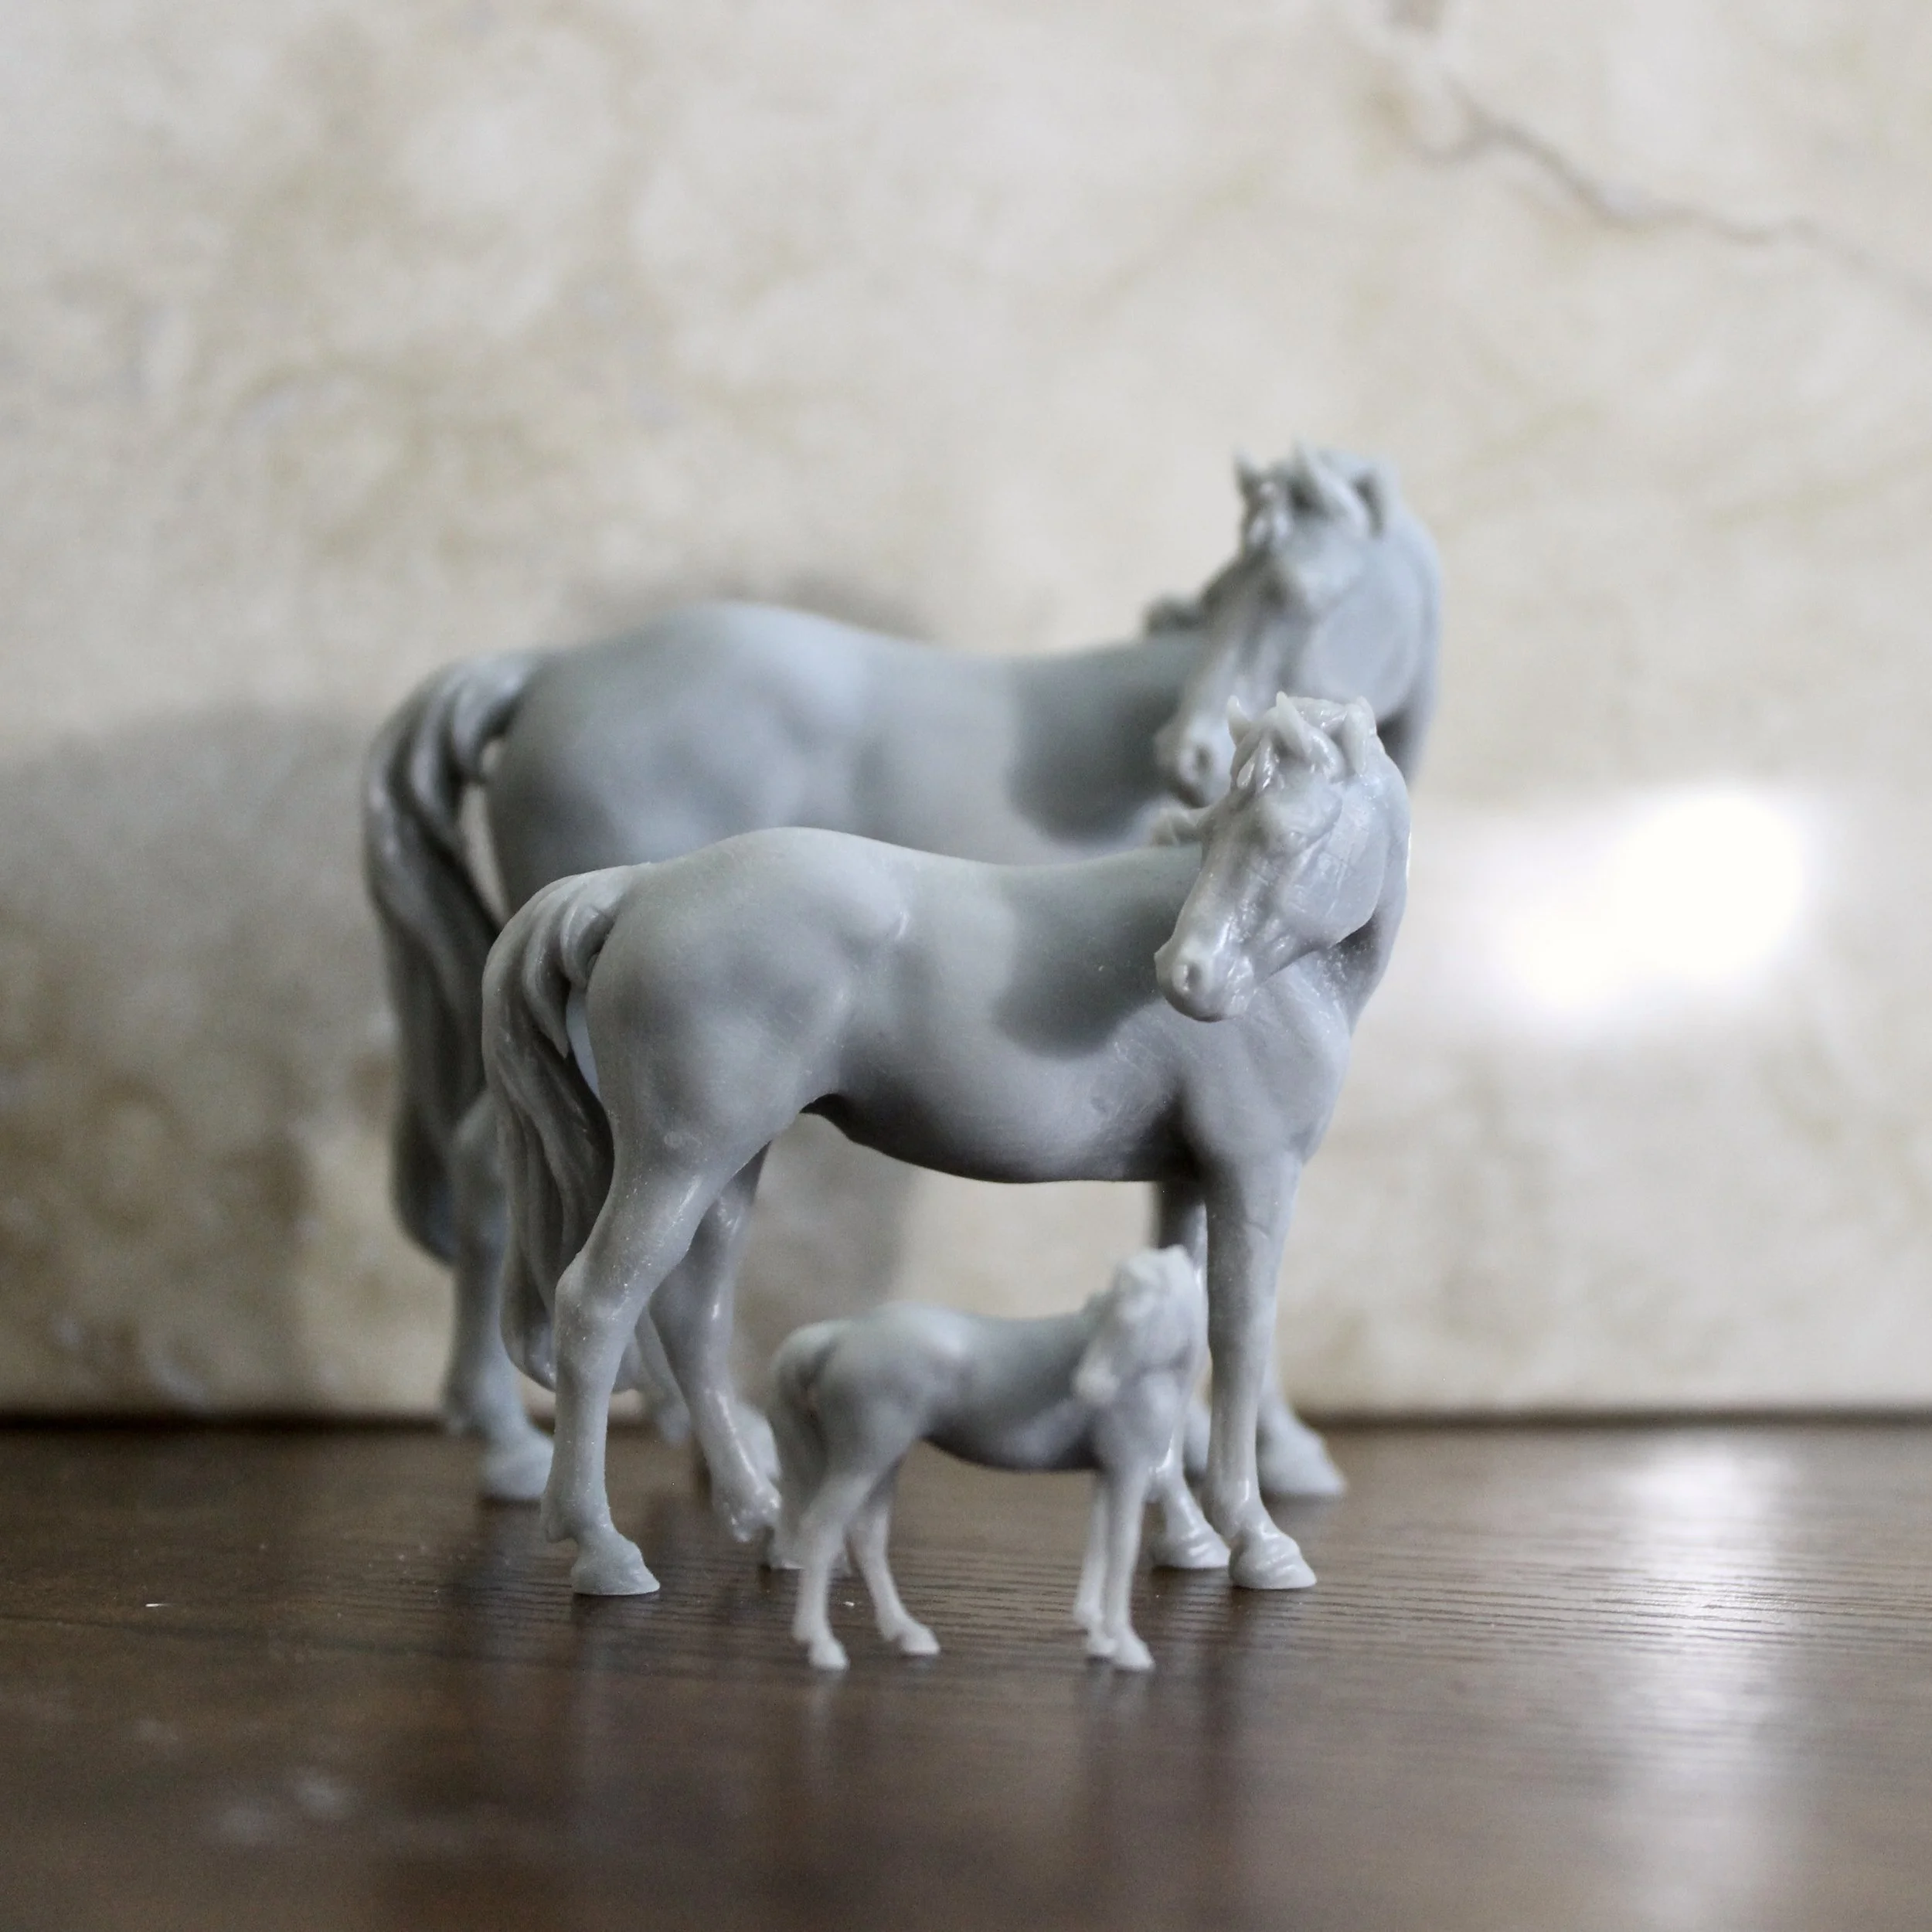
3D prints are prepped similarly to cast resin models. Unlike cast resin, however, 3D models are printed and often have remnant dimples or bumps from the supports needed to suspend them in resin.
To get rid of these support marks there are several methods that can be applied together or separately:
Using a carbide scraper:
You can take the edge of a carbide scraper and gently scrape away any raised marks or lines left behind from the printing process.
Sanding:
You can take a medium-grit sand paper or sanding sponge, and gently sand away the rougher spots. I do not recommend using a coarse grit or using a lot of pressure to avoid scratching the model. -
Before priming, I like to make sure there are no visible printing marks. This does not only refer to support marks or lines, but occasionally you will get rougher areas where there were many supports, layer lines (not a flaw!), or another area that just looks or feels rough.
During these occasions, I like to run a fine-grit sanding sponge over the body of the model. Be very careful about sanding over high-detail areas so you do not lose them.Once the model has been appropriately smoothed, I then use a super fine grit sand paper (1000-1500 grit) to smooth out any remaining scratches and make sure the surface is smooth for priming.
-
After your model is smooth and blemish free, it is time to prime!
3D prints are similar to cast resin in that they will allow you to use your primer of choice.Before priming, rinse the model of any remaining sanding debris. Make sure the model is fully dry before priming, and don’t let it sit in the sun!
Once fully dry, spray a fine coating of primer. Don’t let it get too thick or drip. Several thin layers of primer will always give you better results than a thick once over.
After the primer is dry, you are ready to undertake your painting adventure!